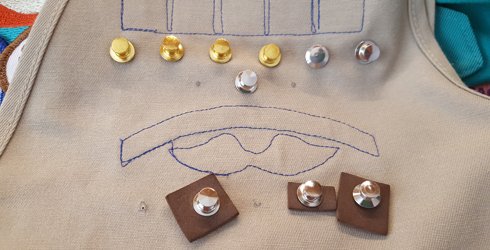
Pins fall off and get lost all the time.
Read on to discover one of the main reasons why this happens and easy steps you can take to prevent it!
Wondering where that pin goes? We have a whole section for that!
Step 1: Take up the extra space
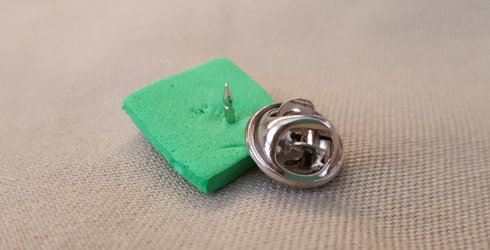
 “Tie Tack” type pins are meant to go through many layers of fabric, not just one. As girls run and jump, the vest material bangs into the clasp, slowly working it off.
To fix this, add a small piece of craft foam or felt before you put on the clasp. That helps keep the vest from banging into the pin back and it helps keep the pin right way up. Win-win!
Step 2: Pick one of these three methods to secure that pin
Method 1: GLUE
 (1) Put the pin in the correct place but don’t put the back on yet.
(2) Put a small amount of silicone glue or hot glue on the pin’s post.
(3) Put the back on.
The glue will help hold the back on but the back can still be easily pulled off if you need to move the pin. Be aware, if you use too much glue, you may stain her vest. Also, do not use permanent glues like super glues or jewelry glues. You will not be able to take the pin off.
(Note: There are many brands of these type of glues. We don’t recommend any one brand over another – use the one you like best.)
![]()
Method 2: SEWING – yes… SEWING on a pin
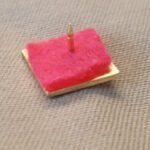 (1) Use permanent glue to glue a small piece of felt to the back of the pin.
(2) Put the pin in the correct place and add the pin back.
(3) Use needle and thread to sew through the vest, catching the felt on the back of the pin.
(4) Take a few stitches through the pin back as well so it can’t fall off.

You can also sew the pin directly on to the vest.
(1) Run at least two stitches over the front of the pin.
NOTE: Use thread that matches the pin or use invisible thread for the best finished appearance.
(2) Don’t forget to take a few stitches through the pin back as well so it can’t fall off.
As a bonus, sewing on the pins helps keep the pin the right way up!
![]()
Method 3: DIFFERENT PIN BACKS
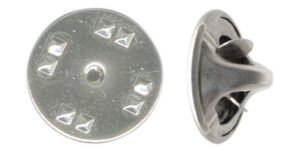 Did you know the standard pin back or “clasp” has a nickname? It’s also known as a “frog”. Perhaps because it likes to jump off the back of the pin!
Another way to prevent pins from getting lost is to switch to different pin backs. There are several choices available.
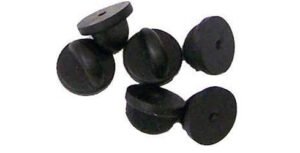
Rubber pin backs work well for many people. They come in a variety of colors and shapes. The quality can also vary so be sure to buy some with good reviews.
There are two types of “Locking” pin backs.
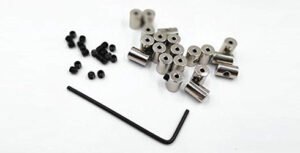
Barrel backs have a small “set screw” in the side. They come with a tiny allen wrench to tighten the screw firmly against the post of the pin. They work well but you need to be sure to not over-tighten (and break the post) and you need to make sure you don’t lose the wrench.
 Tool-less backs have a “plunger” action. You pull up on the back edge as you push the pin back down over the post. Once in place, you release the “plunger” to secure the pin back.
![]()
One last tip! Sometimes you will need to remove pins and getting them back in the right spot can be tricky. Once you have a pin placed just right, take a moment to mark where it goes. Turn the vest over and use a ballpoint pin or a sharpie to mark around the post.
