
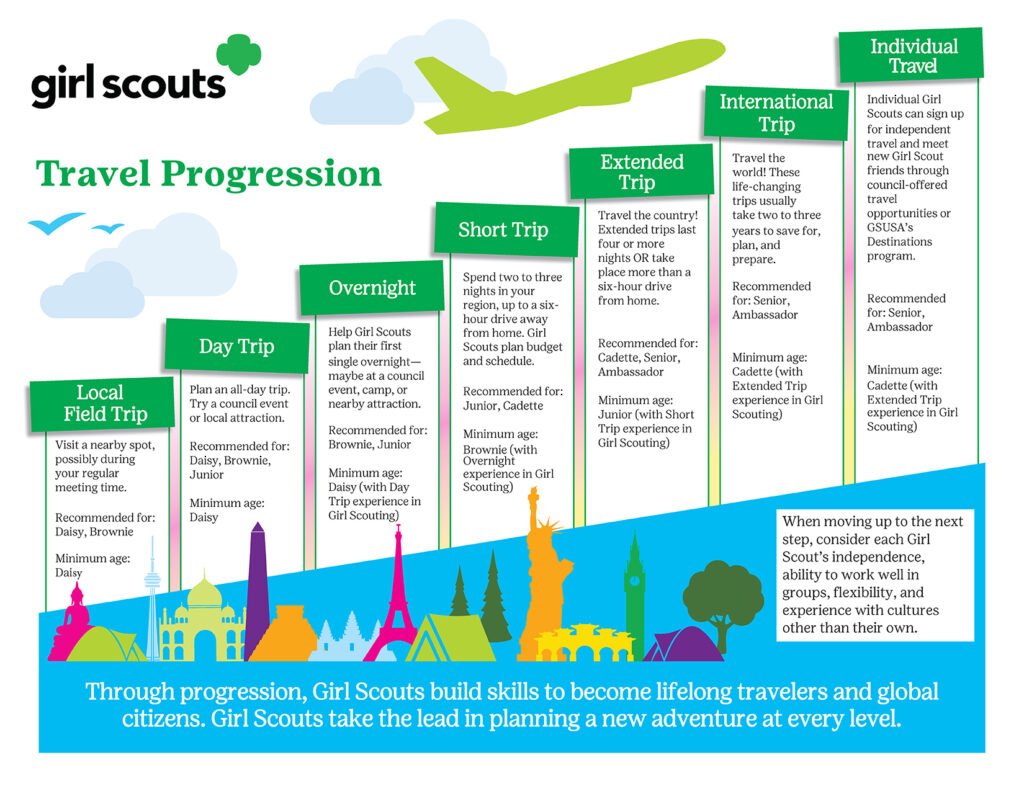
Kaleidoscope? Savannah? Europe or South America? Somewhere else that’s exciting?
Traveling with your troop can be a lot of fun – exposing both your girls and YOU to wonderful adventures but you need to fill out the proper paperwork. Below is a description of what you need. We’ll be adding examples of these forms soon.
![]()
EVERY TRIP
If the trip is further than an hour away OR longer than 6 hours OR contains a high risk activity, you’ll need to submit a travel or high-risk request.
When filling out this form, you’ll need to know:
- Trip dates and times
- Trip destination(s)
- Modes of Transportation
- Driver’s names, license expiration, insurance expiration, and a Troop Driver Information form for each driver.
- Sleeping Arrangements
- A separate document with trip details – you will upload this
- Proof of completing Stepping Out, CPR, and Outdoor Training – you will upload these
- Copies of any permits, agreements, etc. for the trip – you will upload these
- A Troop Roster – you will upload this
- The name, phone number, and email address for your “At Home Emergency Contact”
- The name, phone number, email address, and training date for your First Aid / CPR parent and Stepping trained parent
- The same information for your Outdoor Trained parent (if needed for this trip)
- The same information for any other required trainings for this trip
- The same information for your Wilderness First Aid parent (if needed for this trip)
- Name and Address of the nearest hospital or urgent care to where you are going
You will need a completed copy of the Specific Trip Permission Form for every girl.
![]()
HIGH RISK
If the trip contains any High Risk Activities, you will also need a copy of the High Risk Activity Permission Form for every girl.
![]()
You can find all of the forms on Council’s website, scroll down to Travel Forms
![]()
DEADLINES
Don’t forget to turn them in on time. If you turn your forms in late, they may not be approved in time for your trip. You can always update and add details later, especially for International Trips.
Deadlines are:
Trip of 2 nights or less with no high risk activities: 2 weeks
Trip of 3 nights or more: 3 weeks
Trip with High Risk activities: 3 weeks
Trip with air travel: 3 months
International Trip: 2 years


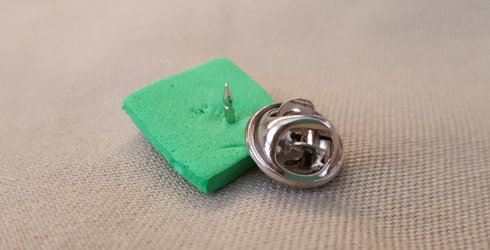
 “Tie Tack” type pins are meant to go through many layers of fabric, not just one. As girls run and jump, the vest material bangs into the clasp, slowly working it off.
 (1) Put the pin in the correct place but don’t put the back on yet.
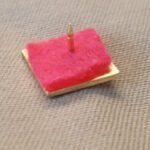 (1) Use permanent glue to glue a small piece of felt to the back of the pin.
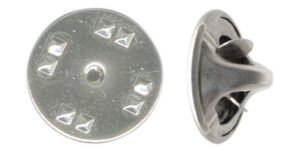 Did you know the standard pin back or “clasp” has a nickname? It’s also known as a “frog”. Perhaps because it likes to jump off the back of the pin!
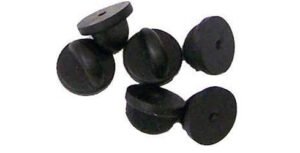
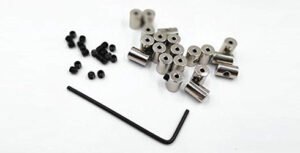
 Tool-less backs have a “plunger” action. You pull up on the back edge as you push the pin back down over the post. Once in place, you release the “plunger” to secure the pin back.
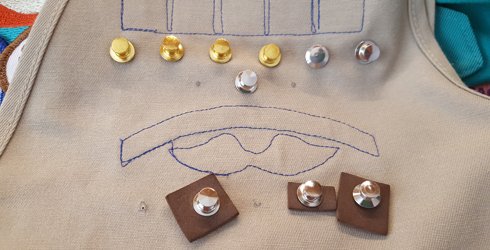
 Here’s some tips:
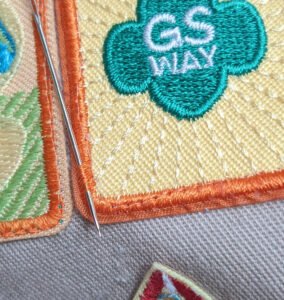
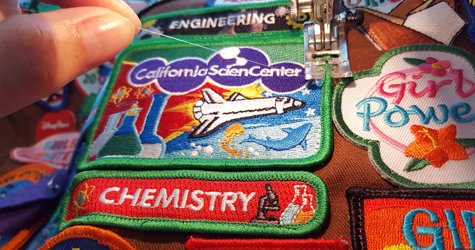
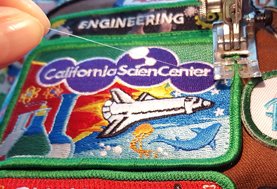
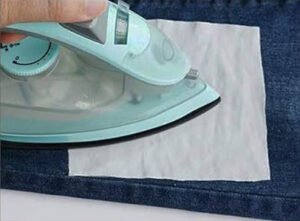 very well. If you plan to iron them on, be sure to follow the directions on the package carefully. We also recommend adding a couple of hand stitches to the top edge of the patch so if the iron-on backing fails, she doesn’t lose the patch.
 Do not try to iron these little patches on – you will ruin the background patch. Your best bet is to sew them on to the background patch. Next best option is a Badge Magic type product.