What’s the best way to attach a badge or patch? Whatever way works for you so your daughter can proudly display the badges she’s earned.
STEP ONE:
ALWAYS wash a brand new vest or sash before attaching any patches.
STEP TWO:
Pick a method for attaching the patches. Several are listed below.
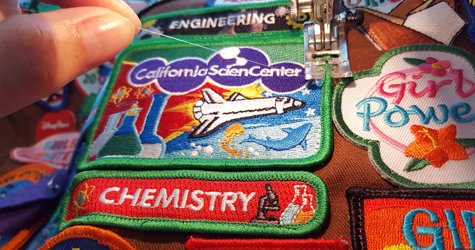
MACHINE SEWING
A sewing machine really speeds up the process and is easy to do. 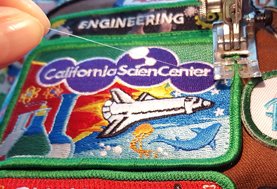 Here’s some tips:
Use a basting spray (sold in the quilting section) or painter’s tape to hold the patch in place while you sew.
Use invisible thread for the top thread so you don’t have to worry about matching your thread to the color of the patch. If you use a light colored thread or a contrasting thread for the bobbin, it makes unpicking easier if you need to move a patch later.
When you reach a corner and need to turn, stop sewing with the needle in the “down” position, raise the pressure foot, and turn the vest. Lower the foot and continue sewing.
HAND SEW
Hand sewing isn’t hard! Here’s a few tips to help you out: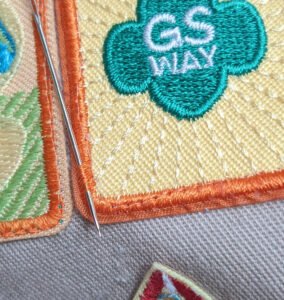
Don’t try to push your needle through an iron-on patch; that backing is really thick! Instead, catch the binding threads around the edge of the patch with your needle and sew those down.
Use invisible thread (it’s like really fine fishing line) so you don’t have to worry about matching your thread to the color of the patch.
BADGE MAGIC
Many craft stores sell a product called “Badge Magic”. ![]() You can buy it pre-cut for Girl Scout badges or buy it in sheets that you cut yourself. Stick a piece the same size and shape as the badge to the back of the badge, peel off the backing, and stick it to the vest. Badge Magic has mixed reviews – some people have good luck, some have patches fall off fairly quickly. If you use it, we suggest adding a couple of hand stitches to the top corners of the patches to help keep them from getting lost.
You can buy it pre-cut for Girl Scout badges or buy it in sheets that you cut yourself. Stick a piece the same size and shape as the badge to the back of the badge, peel off the backing, and stick it to the vest. Badge Magic has mixed reviews – some people have good luck, some have patches fall off fairly quickly. If you use it, we suggest adding a couple of hand stitches to the top corners of the patches to help keep them from getting lost.
IRON ON
Most badges and patches can be ironed on but they may not stay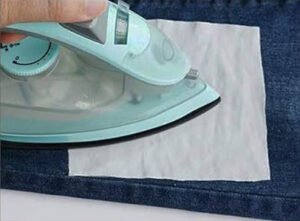 very well. If you plan to iron them on, be sure to follow the directions on the package carefully. We also recommend adding a couple of hand stitches to the top edge of the patch so if the iron-on backing fails, she doesn’t lose the patch.
![]()
HOW TO WASH A VEST OR SASH
Vests and sashes with all of the badges and patches sewn on can be machine washed and dried as needed.
Vests with any ironed-on, stapled, or “sticky back” attached patches should ALWAYS be hand washed and line dried.
No matter which washing method you use, be sure to remove all of the pins first. Before removing the pins, turn the vest over and use a pen to mark the fabric where each pin should be. Then take a quick photo of the front so you know where the pins go when you put them back on. That helps you put them back on quickly. Click here for our tips for keeping pins from falling off.
IF YOU ARE REALLY STUCK FOR HOW TO MAKE THE PATCHES STAY PUT
Consider asking for help. Many parents in town will sew badges on for you – either by hand or by machine – for a minimal charge. Ask your troop leader or email us at info@simivalleygirlscouts.org for help finding someone who sews.
UNCERTAIN WHICH PATCHES AND PINS GO WHERE?
We have a page on just those questions! And as always, please feel free to ask for help.
SOME LAST ADVICE FOR DAISY JOURNEY SETS
Three of the Daisy Journeys have multiple part patch sets. There is a background patch and three little patches that go on it to form a scene. The best advice is to attach the little patches to the big, background patch BEFORE you attach it to the vest.
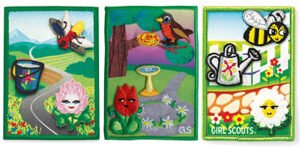 Do not try to iron these little patches on – you will ruin the background patch. Your best bet is to sew them on to the background patch. Next best option is a Badge Magic type product.